The Quilt Project
Stages of Progression
I
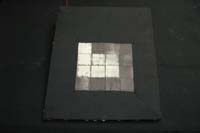
The very first prototype experiments with the idea and the possible outcomes.
II
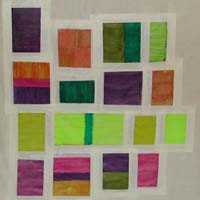
The beginning stages of the quilt project were about developing the techniques to create a pliable display screen. Different stitching techniques where experimented with to see how they would react with the thermochromatic ink. Colour testing was done to see the transition from one colour to another when heat is applied to the thermocromatic ink. As well as major developments in the circuit board to operate each individual pixels.

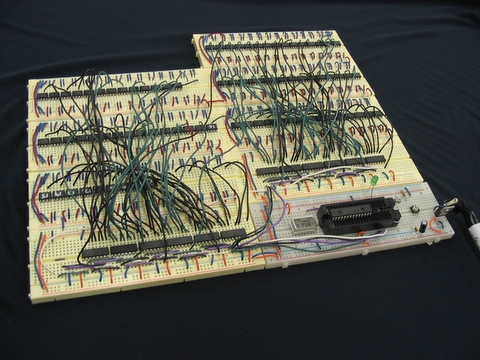
The bread board, the planning and debugging process to creat a circuit board.
The first circuit board.

Here you can see how the thermocromatic ink reacts with heat, some colour change is more drastic than others.

III
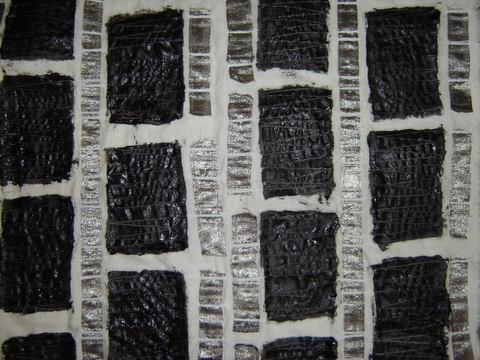
The third prototype was created to test the proper resistance of the nylon and steel threads. These are the threads that heat up when power runs through them and allow the black ink thermocromatic ink to change to white. Quilting techniques where experimented with, in that the silver organza is sewn using the appliqué technique. The structure was played with and was decided that it was important to create more of a grid in order to achive our goals. The circuit board was simplified and modified.
Connections made to the circuit board using 100% steel threads.
A closeup of the resistive nylon/steel threads connect to a power source.
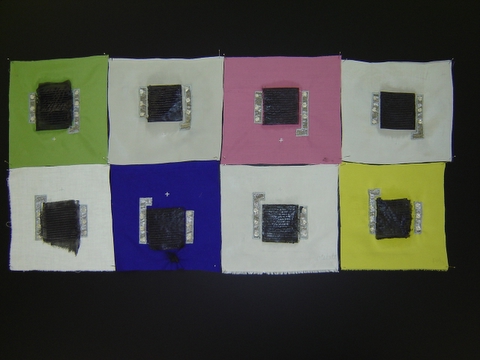
IV
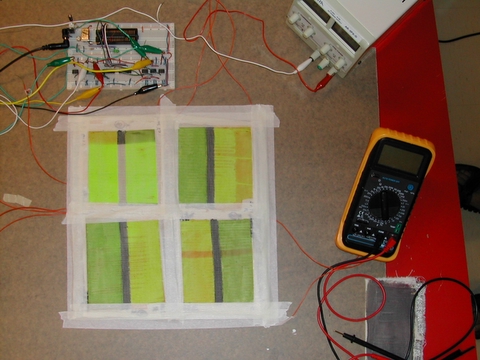
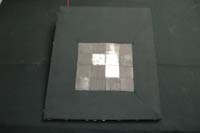
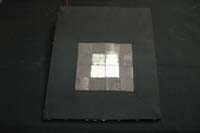
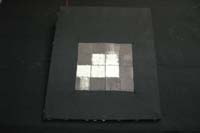
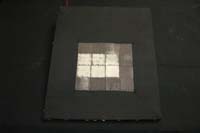
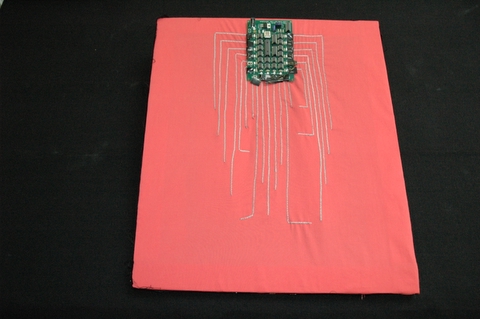
The forth prototype is a 16 pixel display using traditional quilting techniques with individual squares all sewn together. This stage was a more refined stage and much closer to the final outcome. An embroidery file was create for the embroidery machine. The ink was screen printed to create cleaner look. As well the board was programmed with a several image displays.
Here you see the pixels turning on and off in a spiral effect. The clearing temperature for the thermocromatic ink is 31° C and these photos where taken in the heat so the cooling process is not a good as it could be. This is a very improtant element to consider for the display area.


The back side of the screen with steel thread connecting each pixel to the circuit board.
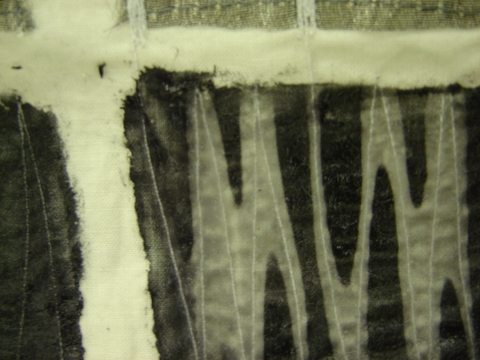
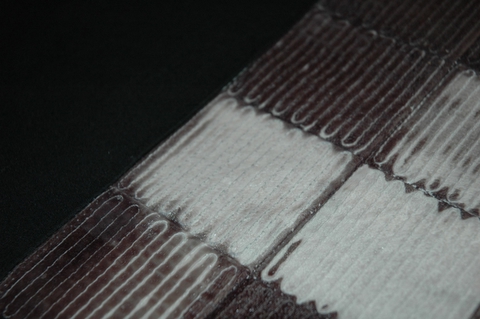
A close up of the several pixels in action. The coilled ligns where created with the embroidery machine to achieve equal spacing, equal resistance and a uniform look.
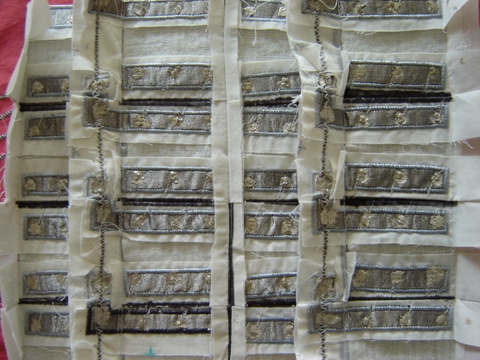
The reverse side of the pixels. The silver tabs are made of silk organza containing real silver wrapped around silk threads. These tabs create a power and a ground point for each pixel.
Testing different fabric for heating and cooling properties.
V
This is a prototype to test mulitiplexing.
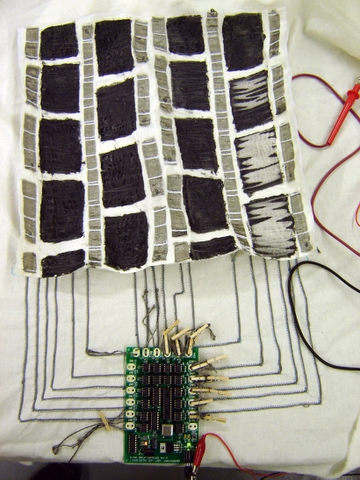
VI
This stage is the final stage, a 10x10 display screen. In order to connect 100 pixels to a circuit board in an orderly fashion, some modifications had to be done to achieve this. A multiplexing circuit borad was created, so 20 connection points are made from the quilt instead of 100 plus several grounding points.
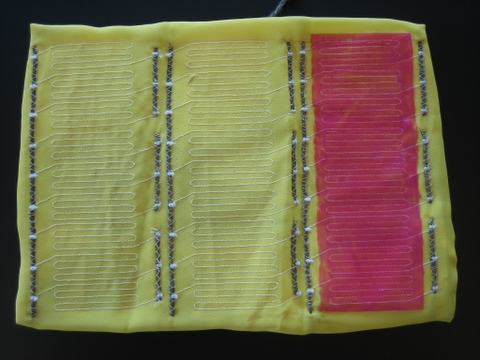
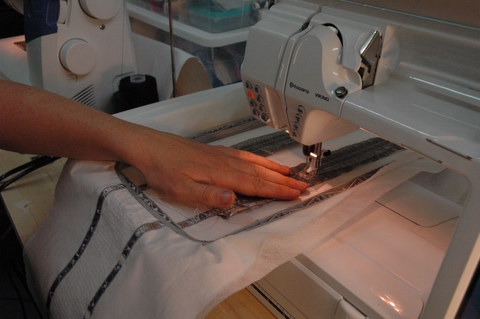
Sewing on the embroidery machine a ten pixel colomn. An embroidery file was create to sewn ten pixels together to achieve a uniform outcome.
A ten pixel panel.

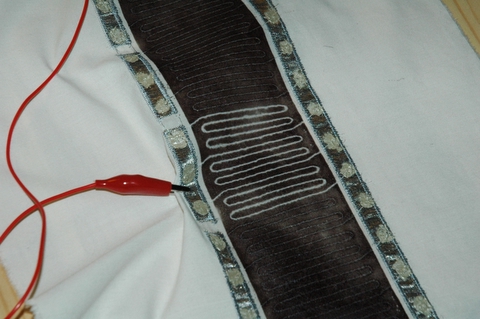
One pixel connected to a power supply with alligator clips.
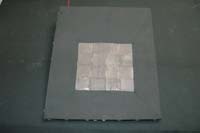
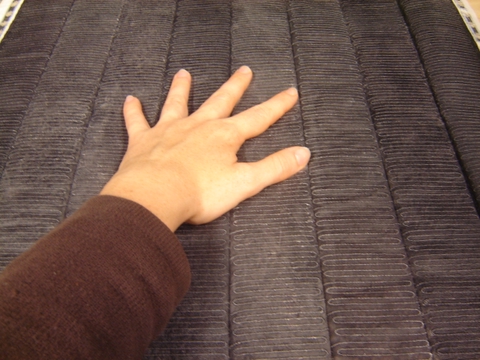
The 10x10 quilt with a hand.
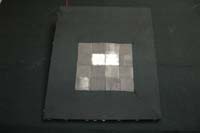
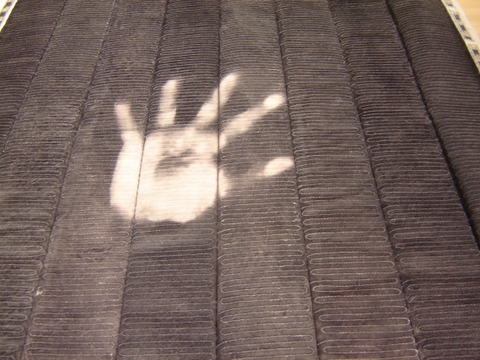
The 10x10 quilt without hand reacting with heat.
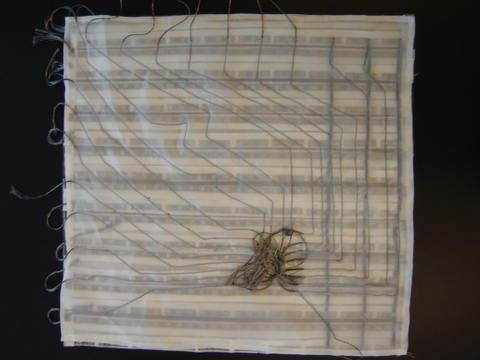
The reverse side. A layer of shire organza to connect the pixels to the board but allowing the construction of all the layers to show through.
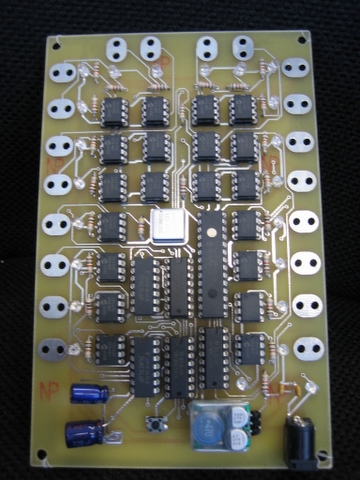
The multiplexing board.
The remaining work to be done for this project is the fianl connection of steel thread between the quilt and the circuit board and the programming. This envolves the debugging and creation of several picture displays for the quilt.